
I’ve been lucky that almost everywhere that I’ve wanted to ride I’ve either been able to drive to or the adventure is short and I’ve rented. Not this time. We’re starting to spend more and more time back in Hawaii and have always missed our bikes when we’re in the islands.
- Fly vs Ship. Shipping seemed like a pretty convenient way to go, as you didn’t have to deal with you bike in the airport. Pack it up, drop it off, put it back together again once you’re at your destination. Well, that’s all fine and dandy if your traveling

Mom with the “big brown box” within the continuous 48 states. Go international or to an island in the middle of the Pacific and you’re suddenly paying almost $300-500. That seemed more than a bit unreasonable, so I ditched that plan.
Do I need a bike case? Most airlines will charge a fee for flying your bike. Hawaiian Airlines charges $100. Decent bike bags/cases seem to start at $400 and move upwards. Some blogs talk about bike bags that don’t look like bag bags (thus avoiding the charge). Unfortunately, that scheme only works for road bikes, not a bulky mtb. I just couldn’t justify all that money for a one time use. Thankfully, our local shop owner let us ‘recycle’ one of the boxes he gets for new bikes and all the ‘padding’. Cost: free. ❤

- Padding. Using the recycled padding and painters tape, I tried to cover every bit of the bike as possible. I paid extra careful attention to gears and the drive train (and figured that the bike had enough scratches from previous falls that I wasn’t overly concerned with the frame). I zip tied the handle bars to the frame and did the same for the crank to the frame. I could have bought this foam peanuts to fill up the box, but in truth got lazy and filled up the box with any leftover padding.
- Weight limit. 50 pounds (for the $100 fee, more fees for over 50) Nothing to cringe about for a road bike, but for an older mountain bike that is pushing 30 pounds, I was wondering if with the box and padding I’d make the weight limit. Answer: I dunno. In typical Hawaiian style my pre-printed boarding pass got checked that I’d already paid the fee, the bike got tagged and then went on the belt. I have no idea if I made weight!
- Mechanical skills needed. Answer: Not much. Thanks to an Allen wrench, I just did the following: took off pedals, lowered seat post via the dropper (more about that later), took off seat, removed handle bars but keep all wiring intact, removed front tire and removed the only (pin) from the front tire. I could have removed the back tire, but since the box had enough room and I cringed at the thought of putting tons of weight on the rear derailer… I kept the tire on. (Note, it was a tight fit in the box. I usually ride men’s small frames. A bigger frame would have meant the rear tire would have needed to come off).

I’m sure I could have done a better job… especially with the brakes!
- Flying across the big blue Pacific Ocean I start to think: “Hmmmm, the check in attendant asked if I deflated my tires. Yes. I did that, it was in the airlines packaging instructions…. but what about my shocks and dropper (that now has maximum force on it because I dropped the seat). I did nothing to them!” (and I’ll admit, physics is not my best discipline). Answer: Not a problem.
- Picking up my bike at baggage claim… my good friends at TSA had decided to open up the box and check things out. Yikes? Would everything still be “safe”? (And in truth, would I even know between my poor packing or their rummaging?)

Turns out: EVERYTHING WAS FINE. In retrospect – this was an easy logistic to tackle. The bike got put back together just fine. Nothing seems dinged, dented or bent. And just one day later, I was able to mountain bike with views like this:
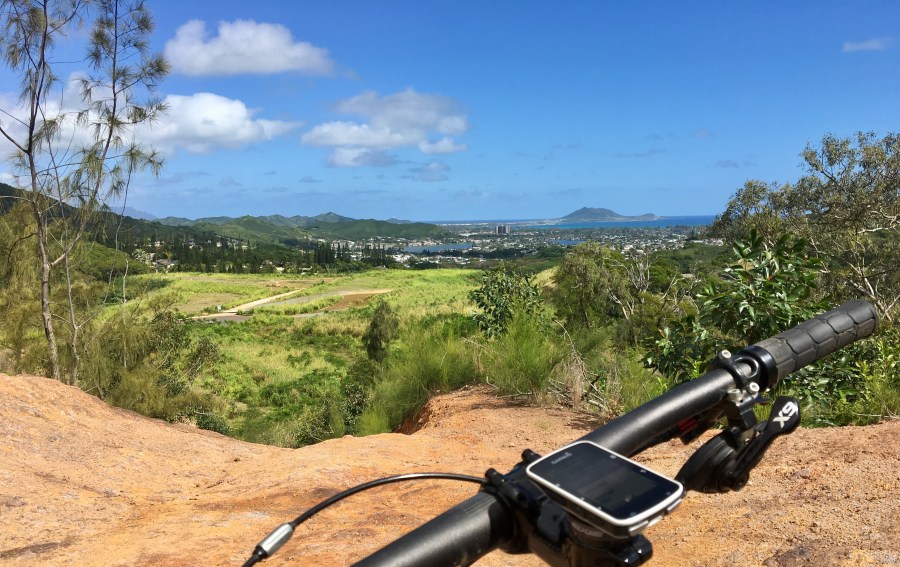
More Hawaiian riding pictures to come!

[…] was traveling & stressing about putting what kind of damage my bike might have suffered in the flight over … and then I struggled on the first ride … but by the end of the week- I’ve […]
LikeLike